Tutoriel
Bold Blush
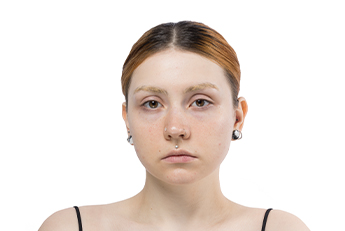
Before
Step 1
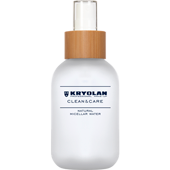
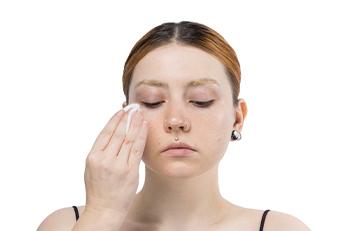
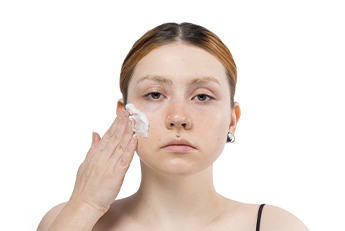
The skin should be free of any products. Start cleansing the skin by spraying Natural Micellar Water 120 ml on a cotton pad and gently massaging it into the skin to further remove impurities and excess sebum. Don't forget the eye and nose area. Starting with fresh skin is the best way to start your make-up.
The skin should be free of any products. Start cleansing the skin by spraying Natural Micellar Water 120 ml on a cotton pad and gently massaging it into the skin to further remove impurities and excess sebum. Don't forget the eye and nose area. Starting with fresh skin is the best way to start your make-up.
Step 2
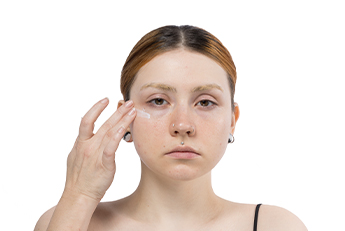
The second step will provide a layer of protection. For this, use Marly Skin - Mousse protectrice to prepare and shield the skin from any reaction. Ideally, use your fingers for this application. Massage it gently into the skin. Always make sure to wash and disinfect your hands before application. If hygiene is a significant issue when using your hands, you can always also apply the product with a brush.
The second step will provide a layer of protection. For this, use Marly Skin - Mousse protectrice to prepare and shield the skin from any reaction. Ideally, use your fingers for this application. Massage it gently into the skin. Always make sure to wash and disinfect your hands before application. If hygiene is a significant issue when using your hands, you can always also apply the product with a brush.
Step 3
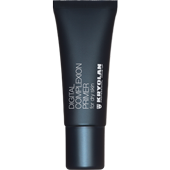
To prepare the skin for the optimal finish using a primer is key. Massage the Digital Complexion Primer pour peau sèche onto areas with dry skin. Where the skin absorbs the product very fast, you can use a bit more primer.
Pro tip: Massage the primer very well into the skin so that you don't have a layer of primer that hasn't absorbed into the skin. This is essential before the application of the foundation to get the best finish.
Step 4
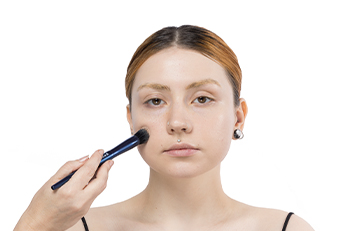
Only in the fourth step we start with the actual application of the foundation. With stippling motions, apply thin layers of Digital Complexion Cream Foundation. Thin layers will allow you to create a perfect base. Depending on the skin tone, you can use different shades on the skin to mimic natural-looking skin. Pro tip: build up the foundation in thin layers for more coverage. Never use too much product in one layer. This will help to avoid a textured look.
Only in the fourth step we start with the actual application of the foundation. With stippling motions, apply thin layers of Digital Complexion Cream Foundation. Thin layers will allow you to create a perfect base. Depending on the skin tone, you can use different shades on the skin to mimic natural-looking skin. Pro tip: build up the foundation in thin layers for more coverage. Never use too much product in one layer. This will help to avoid a textured look.
Step 5
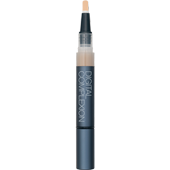
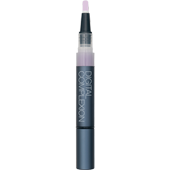
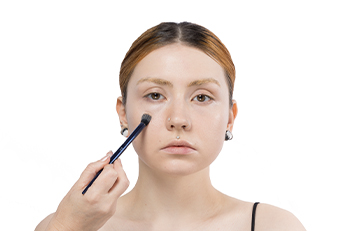
In the next step, we are concealing minor areas. To do so, use a smaller stippling brush and stipple on the Digital Complexion Concealer. Ideally, go for one or two tones lighter than the actual skin tone. Here, we do it mainly under the eyes to create a highlight and avoid shadow. Additionally, if you experience slight skin discoloration, mix a very light amount of the Digital Complexion Neutralizer and apply very thin layers onto the areas where needed. Blend everything well in stippling motions to connect the different products and shades.
In the next step, we are concealing minor areas. To do so, use a smaller stippling brush and stipple on the Digital Complexion Concealer. Ideally, go for one or two tones lighter than the actual skin tone. Here, we do it mainly under the eyes to create a highlight and avoid shadow. Additionally, if you experience slight skin discoloration, mix a very light amount of the Digital Complexion Neutralizer and apply very thin layers onto the areas where needed. Blend everything well in stippling motions to connect the different products and shades.
Step 6
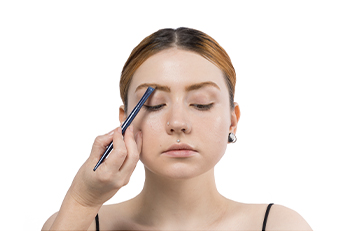
We customized our shade for the eyebrows by mixing HD Cream Liner (here in Sunshine; Cacao & Fruity Orange). By doing so, we recreated her brow color. Use an angled brush to color the eyebrows and accentuate the shape. Once this is set, the HD Cream Liner will last very long.
We customized our shade for the eyebrows by mixing HD Cream Liner (here in Sunshine; Cacao & Fruity Orange). By doing so, we recreated her brow color. Use an angled brush to color the eyebrows and accentuate the shape. Once this is set, the HD Cream Liner will last very long.
Step 7
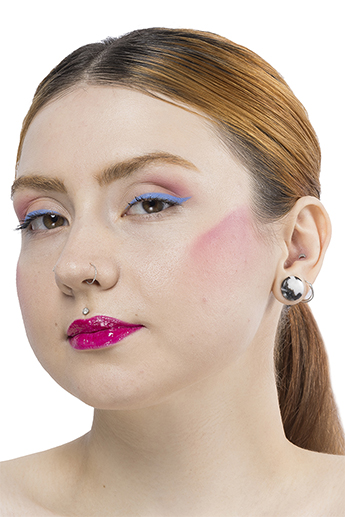
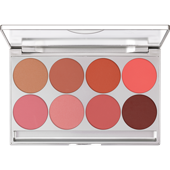
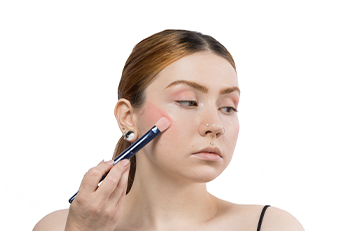
This look stands out with its Blusher. A specially designed blusher shape is applied with T 0 from the Palette Blusher 8 couleurs (Aura). To do so, the artist started with a thin, soft layer and then build it up. Start at the place where you want the most color intensity, press on the flat brush, and move along. By using your brush flat and pressing on the Blusher, you will have an immediate blending effect.
This look stands out with its Blusher. A specially designed blusher shape is applied with T 0 from the Palette Blusher 8 couleurs (Aura). To do so, the artist started with a thin, soft layer and then build it up. Start at the place where you want the most color intensity, press on the flat brush, and move along. By using your brush flat and pressing on the Blusher, you will have an immediate blending effect.
Step 8
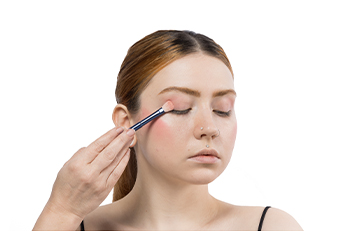
From the same Palette Blusher 8 couleurs (Aura), use T 0 on a fluffy brush and accentuate the outer corners of the eyes. Use a thin, soft layer and build it up. Start at the place where you want the most color intensity. Bring up the color to the brow bone, blending it for a lifting effect.
From the same Palette Blusher 8 couleurs (Aura), use T 0 on a fluffy brush and accentuate the outer corners of the eyes. Use a thin, soft layer and build it up. Start at the place where you want the most color intensity. Bring up the color to the brow bone, blending it for a lifting effect.
Step 9
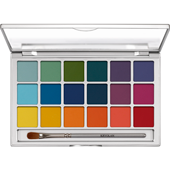
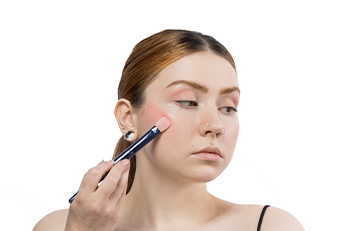
To emphasize the prior applied Blusher from step 7, use AB 22 from the Eye Shadow Variety 18 couleurs (V 2). To do so, the artist started with a thin, soft layer and then build it up. Start at the place where you want the most color intensity, press on the flat brush, and move along. By using your brush flat and pressing on the Blusher, you will have an immediate blending effect.
To emphasize the prior applied Blusher from step 7, use AB 22 from the Eye Shadow Variety 18 couleurs (V 2). To do so, the artist started with a thin, soft layer and then build it up. Start at the place where you want the most color intensity, press on the flat brush, and move along. By using your brush flat and pressing on the Blusher, you will have an immediate blending effect.
Step 10
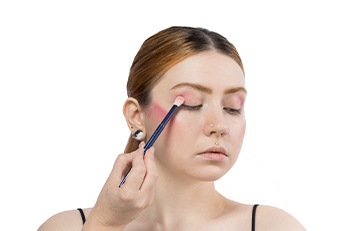
The same accounts for the eyes. To enhance the previously applied eye make-up, use AB 22 from the Eye Shadow Variety 18 couleurs (V 2) on a fluffy brush and accentuate the outer corners of the eyes. Use a thin, soft layer and build it up. Start at the place where you want the most color intensity. Bring up the color to the brow bone, blending it for a lifting effect.
The same accounts for the eyes. To enhance the previously applied eye make-up, use AB 22 from the Eye Shadow Variety 18 couleurs (V 2) on a fluffy brush and accentuate the outer corners of the eyes. Use a thin, soft layer and build it up. Start at the place where you want the most color intensity. Bring up the color to the brow bone, blending it for a lifting effect.
Step 11
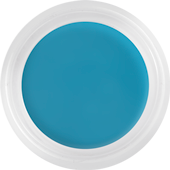
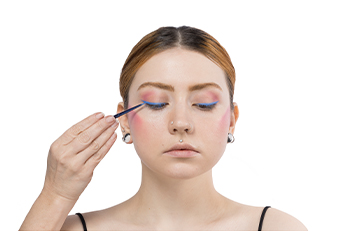
Next, we are creating a strong winged eyeliner with HD Cream Liner (sky blue). The easiest way to make the liner is to do it in different steps. Start with the outer corners of the eyes and ask your model to look straight forward. Then ask your model to close her eyes so you can continue drawing the eyeliner. Wait until the product has set before the model opens her eyes again.
Next, we are creating a strong winged eyeliner with HD Cream Liner (sky blue). The easiest way to make the liner is to do it in different steps. Start with the outer corners of the eyes and ask your model to look straight forward. Then ask your model to close her eyes so you can continue drawing the eyeliner. Wait until the product has set before the model opens her eyes again.
Step 12
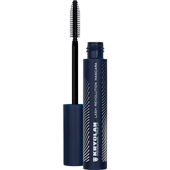
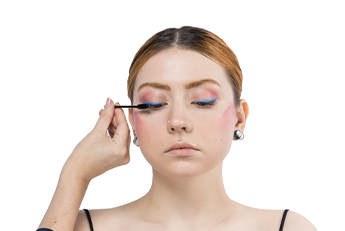
For the final touches of the eye make-up and to enhance the eyes even more, use one or more coatings of the Lash Revolution Mascara. Apply it with a disposable mascara wand. Make the application with a zigzag movement for a stronger effect.
Pro tip: go as close as possible to the base of the lashes.
Step 13
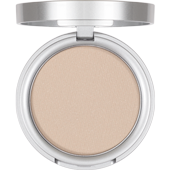
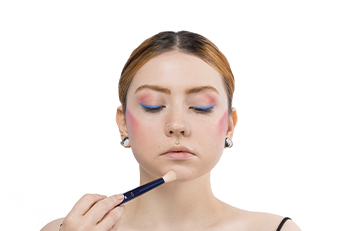
If you experience shiny parts on the face, you can easily apply a thin layer of powder to mattify these parts. (e.g., bridge of the nose, chin, under the eyes) With just a small amount of Translucent Compact Event (TE 1) and a fluffy brush, stipple in the powder gently.
If you experience shiny parts on the face, you can easily apply a thin layer of powder to mattify these parts. (e.g., bridge of the nose, chin, under the eyes) With just a small amount of Translucent Compact Event (TE 1) and a fluffy brush, stipple in the powder gently.
Step 14 - Option 1
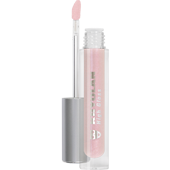
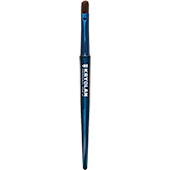
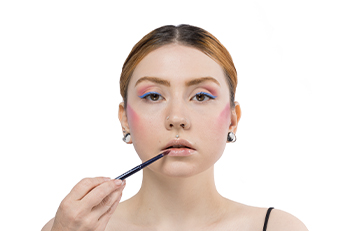
This look can easily go with two different lip finishes. This option is with glossy, nude lips. We created the shiny, glossy effect by applying High Gloss (fairy). The best way to apply this is to use a Pinceau Blue Master Defining Lip Brush to put a thin layer all over the lips. Intensify the shine even more by pushing more product on the middle part of the lips.
Your focus will then be on the eyes and cheeks. If you want to go even further, don't do this step and move on to the next one.
Step 14 - Option 2
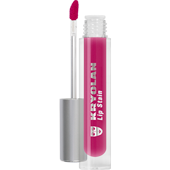
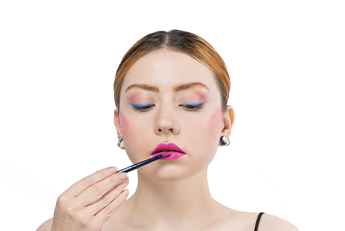
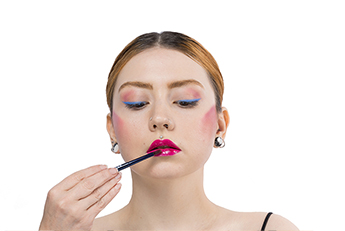
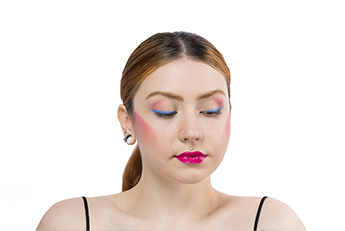
Do you love full attention? Then we can top up this look with a pink, super glossy lip make-up. Create an intensive lip with Lip Stain (pop). To do so, use a lip brush to put a thin layer all over the lips. Apply a second layer to intensify the color even more. Let it dry before moving on.
Do you love full attention? Then we can top up this look with a pink, super glossy lip make-up. Create an intensive lip with Lip Stain (pop). To do so, use a lip brush to put a thin layer all over the lips. Apply a second layer to intensify the color even more. Let it dry before moving on.
Final


